1- Install The Latest Wine Version (see here how)
2- Open your terminal on Ubuntu (Accessories > Terminal)
3- Run the following command – it will install WineTricks on your computer (WineTricks is a script that will allow us to “mechanize” passages that would otherwise be done manually)
wget kegel.com/wine/winetricks && sh winetricks vcrun6
4- Once the first script is done, let’s move to the the second command:
wget http://kegel.com/wine/winetricks && sh winetricks fakeie6 mdac28 jet40 fontsmooth-rgb
5- Before going further, type this and follow instructions:
winetricks fontsmooth-rgb
6- Now, to the real setup
wget http://download.adobe.com/pub/adobe/photoshop/win/cs2/Photoshop_CS2.exe && wine Photoshop_CS2.exe
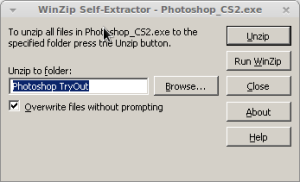
7. Click in Unzip and extract the files using that winzip manager that’s on your screen.
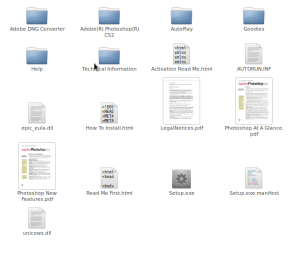
8- Go to your Home folder (or where you extracted your files) and open “Photoshop Try Out” > “Photoshop CS2”, and it will look like this
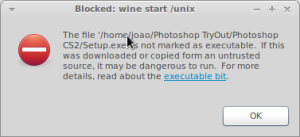
8- Now, if double-click on Setup.exe, problably something like this will appear.
Don’t get worried. That’s not a bad error message. It’s just for your protection. This way you only really open executable files if you really want to open them.
So, right-click on the “Setup.exe” icon, go to Properties and go to the Permissions tab and mark as executable
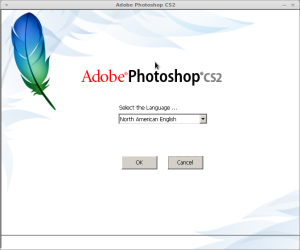
9- Now, double-click on “Setup.exe” and there you go! Now you can install Adobe Photoshop.


Posted on 2010/08/03
0